MODEL RAILROAD TUNNEL:
To avoid seeing benchwork in a tunnel, a ‘liner’ is required to keep prying eyes focused on the layout. The following steps are an easy and nearly free way to make a tunnel liner. To see other pictures of the tunnel build, visit Fitchburg Railroad On30 on Facebook.

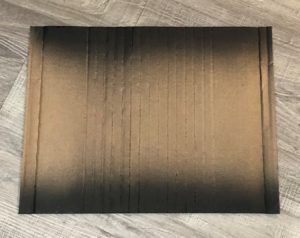
[Figure 1: Liner cut and scribed to size. Final dimensions are 4.5″W x 5.25″H x 11.25″L]
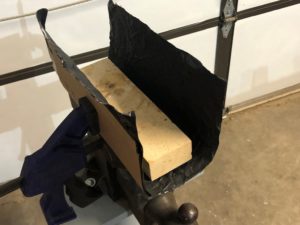
[Figure 2: Cradle to support drying liner]
TOOLS, MATERIALS & DIRECTIONS:
Tools: box knife and metal ruler.
Material: cardboard, aluminum foil, flat black paint, and glue.
Dimensions: cardboard liner should be measured as follows:
* Tunnel width = no less than 1″ clearance (left and right) than the widest engine or rolling stock
* Tunnel height = no less than 1.5″ clearance above the tallest engine or rolling stock; tunnel portal will be smaller than liner.
* Tunnel length = 2.5x the base width of the tunnel.
Preparation: cover track with newspaper or material..
Directions:
* Cut liner to dimensions (Figure 1).
* From center line of tunnel, mark and scribe lines in 1/2″ increments to accommodate arch of tunnel.
* Create cradle the width of your liner (e.g. blocks of wood or clamp)
* Lightly crumple aluminum foil, lightly press flat, and paint flat black
* Insert tunnel liner in cradle upside down, glue back of tin foil, and slowly attach to tunnel liner (Figure 2)
* Trim edges accordingly. Foil was bent over front edge to cover corrugation.
Mounting:
* Flat surface – create angle brackets to mount
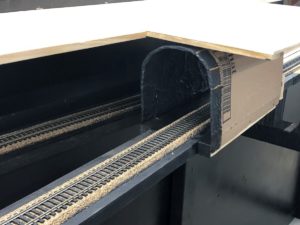
* Bench work – add wood shims to width of desired of tunnel (see Figure 3)
[Figure 3: Tunnel attached to shimmed benchwork awaiting portal installation]


